Blog


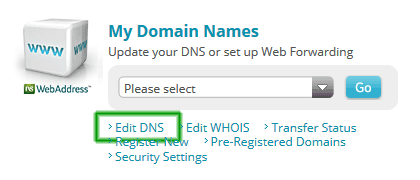
Click Edit DNS from My Domain Names options.
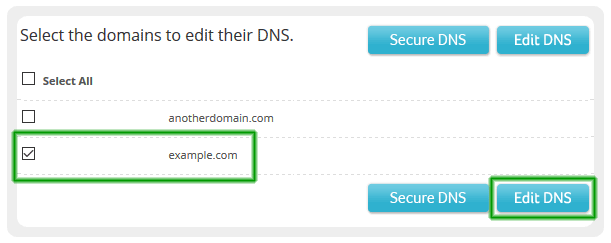
Select your domain name and click Edit DNS to continue.
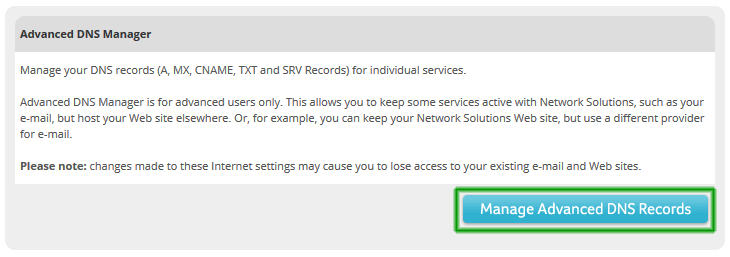
Click the Manage Advanced DNS Records button to edit the DNS records for your domain.
You will be presented with a long page of different DNS record types, select Edit MX Records.

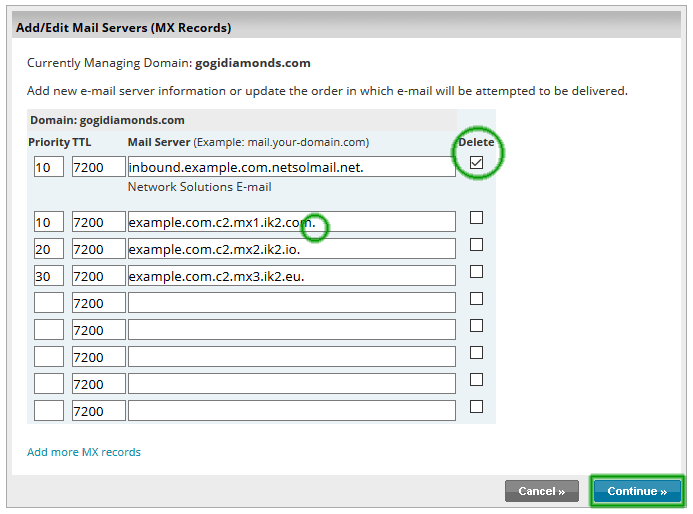
Finally, you are at the Add/Edit Mail Servers (MX Records) page. Select to delete your existing MX record, if you were using Network Solutions as your mail provider there should be just one existing entry. Add your three MX Records from the chart below, using the photo as an example. Ensure you place a period at the end of the mail server entries, as seen in the photo.
Click the Continue >>> button to review your changes.
| MX records are specific to individual domains, please login to view the MX servers for your domain. |
Review that your changes look correct, you should have three new mailservers listed. Under the host column should be the domain name you are protecting. Click Save Changes >>> to apply the changes.

Changes to your MX records may take 24 - 48 hours before all servers on the Internet see the updates, your spam levels will slowly decrease during this time. If you continue to receive high volumes of spam email after 48 hours, please contact us for assistance.
Updated 2016/11/29