Blog


When using MX Guarddog to protect your domain from email born threats, it is best to secure your server and only accept mail from MX Guarddog authorized servers.
When hosting your email on Zoho's shared servers you can do this by creating a Zoho Firewall. The firewall will prevent direct delivery attacks against your domain by only allowing mail from MX Guarddog's IP addresses.
Follow the instructions below to secure your domain from direct delivery attacks by creating a Zoho Firewall.
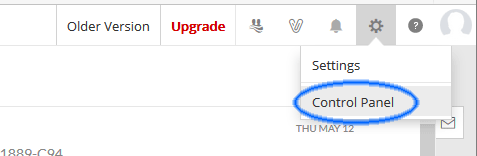
From Zoho, access the control panel under settings.
Under Email Routing, select Incoming Gateway.
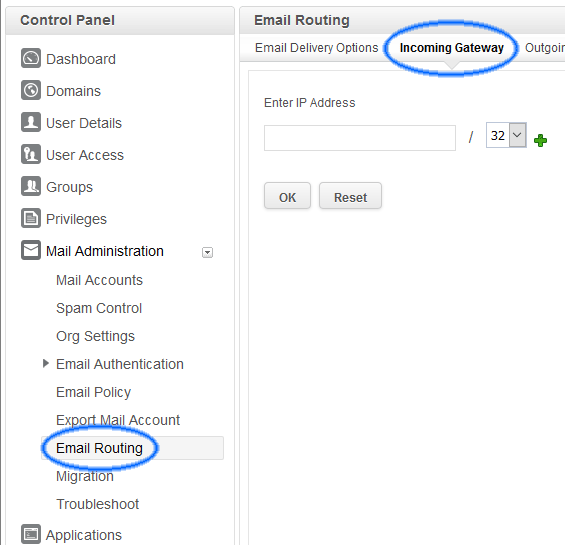
Next define MX Guarddog's IP addresses as your incoming gateways. This tells Zoho where to expect mail for your domain to come from.
Ensure you enter our current IP address details, the screenshot below shows a sample and may not be current.
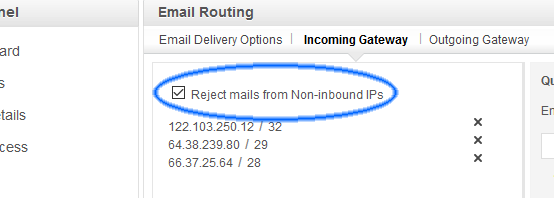
Once you have added our IP addresses as your incoming gateway a new option is made available, reject mails from non-inbound IPs. Selecting this option will prevent any spammers or computer viruses from delivering mail to the Zoho servers unless they pass through MX Guarddog first.
That's it, your new firewall is active. If you just switched to MX Guarddog your new MX records may not be fully propagated yet - wait 48 hours before creating this firewall.